Build a Survival Stove
A survival stove is a great tool to include in an emergency bag or kit. Cooking is an essential part of wilderness or urban survival.
Whether you are boiling water to kill harmful bacteria, or cooking up a wild edible plant to make it more palatable, a stove will make your job a lot faster and easier than getting a fire started.
Many modern backpacking stoves require specialized butane or white gas fuel canisters, making them less than ideal survival stoves due to their cost, bulk and weight.
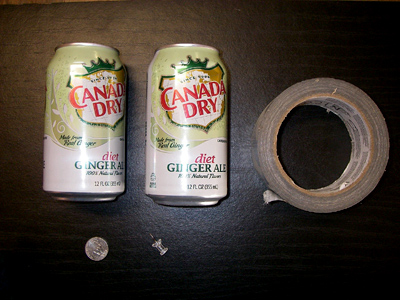
Guess what? You can make your own stove with a few things that are probably in your house right now! All you need are:
• Two aluminum soda (or beer) cans
• A thumbtack
• A piece of tape (duct tape or masking tape works best)
• A nickel or penny
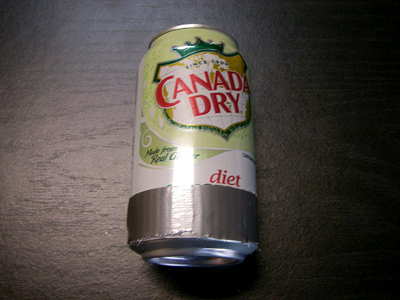
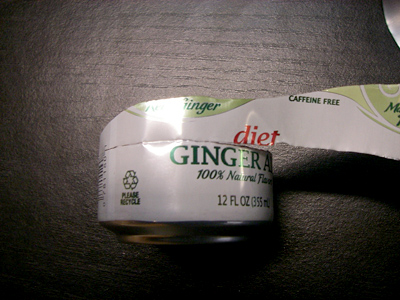
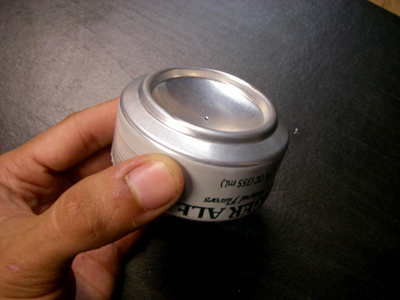
Step One:
Wrap masking tape around the base of one of the cans. The bottom edge of the tape should be in line with the bottom edge of the graphics printed on the can. This will be your guide for step two.
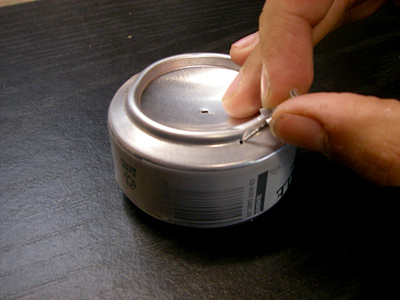
Step Two:
Take your thumbtack and begin scraping a line at the top edge of the tape. Do this by pressing the sharp point of the tack into the side of the can at an angle and drawing it across the surface. You should begin leaving behind a scratch or groove in the aluminum. Do not press hard enough to puncture the can! Go around the can two or three times to really make a good groove.

Step Three:
Remove the tape and set aside
Be More Prepared For Your Next Outdoor Adventure!

Don't leave without knowing these six essential survival skills. Our free survival mini guide reveals the strategies of:
- Shelter & fire to prevent the number one cause of death
- Obtaining clean water to avoid life-threatening dehydration
- Common wild survival foods and other critical skills!

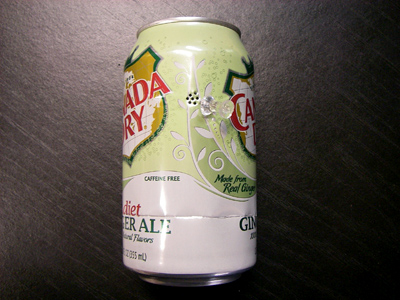
Step Four:
Use your thumbtack to poke a few holes in the side of the can well above your groove. Once you have a few holes, you can use the thumbtack to rip the side of the can open.
Step Five:
You should now be able to bend and twist the can until you get a nice tear in the aluminum near the holes you created with your tack. Continue to tear the can apart until it starts to look like a spiral or curly Q. Use Caution! The aluminum can be very sharp! I have made these stoves for years and have never cut myself.
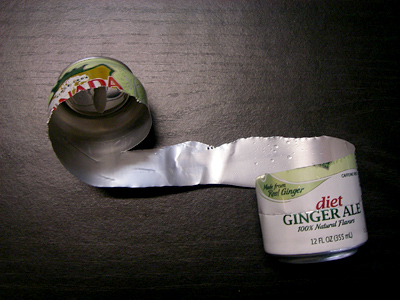
Step Six:
Continue the tear down the can, keeping it going in a spiral. As the tear meets the groove you created with your thumbtack it should follow it more or less perfectly around the can, giving you a nice straight line. You then end up with a cleanly cut can-bottom. This will be one half of your survival stove.
Step Seven:
Repeat steps one through six with your other aluminum can.
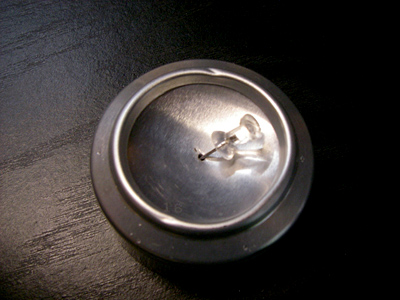
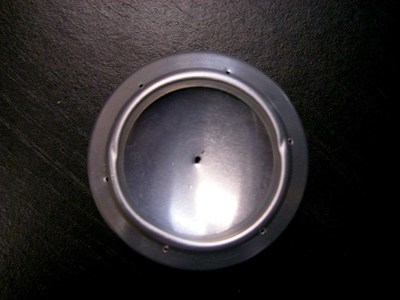
Step Eight
Use the thumbtack to punch a hole through the center of one of the can bottoms. The aluminum is thicker there so use steady, even force to work the tack through. This will be your fuel hole once the stove is complete.
Step Nine:
This is usually the trickiest part. You now have to force the two ends together edge on edge until one nests inside the other. They are precisely the same diameter so it will take some force and finesse. One again aluminum is sharp!
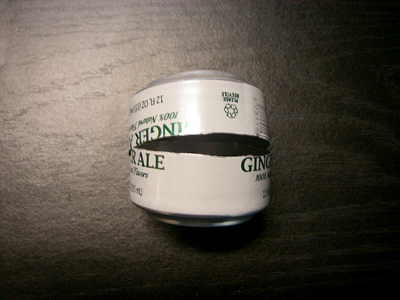
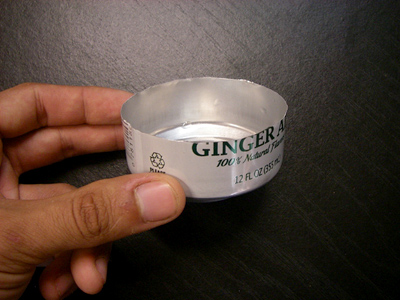
Step Ten:
Push the can bottoms together until they fit snugly. You may end up with a few bumps from the inner can crumpling outward slightly but as long as your outer can wall is intact you will have a working stove.
Step Eleven:
Punch 6-8 holes into the outer edge of the ‘ring’ on the bottom of the can on the same side as your fuel hole. Try to make these holes evenly spaced for a more efficient stove.
Congratulations! You are done!
How Your Survival Stove Works
This survival stove works by burning an alcohol based fuel under pressure. Denatured alcohol burns cleanest, but you can also use 150+ proof vodka or rum, HEET anti-freeze or rubbing alcohol. You can fire it up by pouring a few ounces of fuel into your fuel hole, giving it a few seconds to drain into the main chamber.
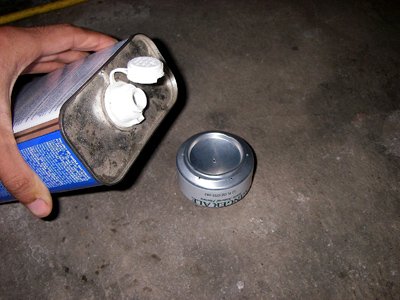
Then splash a little fuel on the ground around the outside of the survival stove to ‘prime’ it.
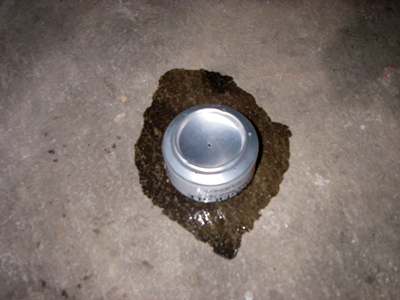
Use your nickel or penny to cover the fuel hole for better pressure.
Then light it with a match, lighter or flint and steel. Alcohol burns with a dim blue flame which can be hard to see in full daylight, look for heat waves to tell if it is lit. After a few seconds the fuel inside the survival stove will reach combustion temperature and blue flame should start flickering up from the outside holes around the edge of the stove.
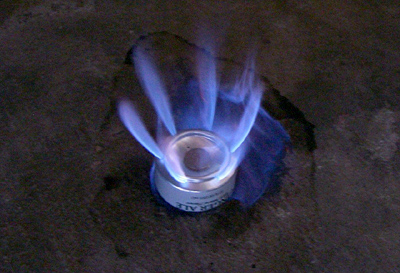
You now have a lightweight, portable survival stove that can burn a wide variety of commonly available fuels!
Tips and Tricks
• Avoid over filling the stove, this can cause the burning fuel to expand too rapidly and spurt out!
• Once you get good enough at making them you won’t even need the tape, just couple of cans and a sharp object!
• The survival stove will have the best efficiency if you have a stand to hold a pot or pan a few centimeters above the stove.
• You can also increase efficiency by using a heat reflector. A quick and effective one can be made from tin foil or aluminum flashing.
• Use an empty shampoo or small plastic squirt bottle to store your fuel in. Only carry as much fuel as you are going to need.
• Use an empty tin can to create a pot stand and carrying case for your survival stove!
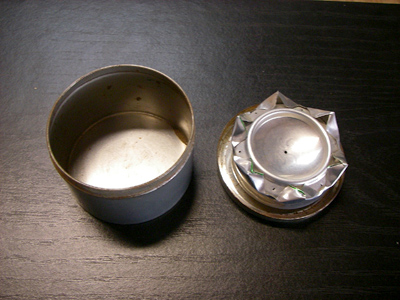
I built my personal stove out of two Heineken ‘keg’ cans. The extra aluminum around the edge allowed me to make a built-in pot holder!
The carrying case doubles as a 1 cup measure and the lid doubles as a ‘priming pan’ for fuel.
Now you can try out cooking on your survival stove!
By the way, if you enjoyed this article then you'll love our survival mini guide. You'll discover six key strategies to staying alive in the outdoors plus often-overlooked survival tips. We're currently giving away free copies here.
Related Resources:
Check out our Wilderness Survival Courses

About the Author: Jeremy Williams is an experienced wilderness skills educator and wildlife tracker. He was an instructor at Alderleaf. Learn more about Jeremy Williams.
Return from Survival Stove Article to Survival Articles Page
Is The Essential Wilderness Survival Skills Course Right for You? Take the "Online Survival Training Readiness" Quiz
See for yourself if this eye-opening course is a good fit for you. It takes just a few minutes! Get your Survival Training Readiness Score Now!
Grow Your Outdoor Skills! Get monthly updates on new wilderness skills, upcoming courses, and special opportunities. Join the free Alderleaf eNews and as a welcome gift you'll get a copy of our Mini Survival Guide.
 The Six Keys to Survival: Get a free copy of our survival mini-guide and monthly tips!
Learn more
Wait. Before you leave...
Don't forget your Survival Mini Guide.
It's free.
Be more prepared for your next outdoor adventure! Discover six essential survival skills. Join our newsletter and get a free copy of the guide as a welcome gift!
Your privacy is our top priority. We promise to keep your email safe!